


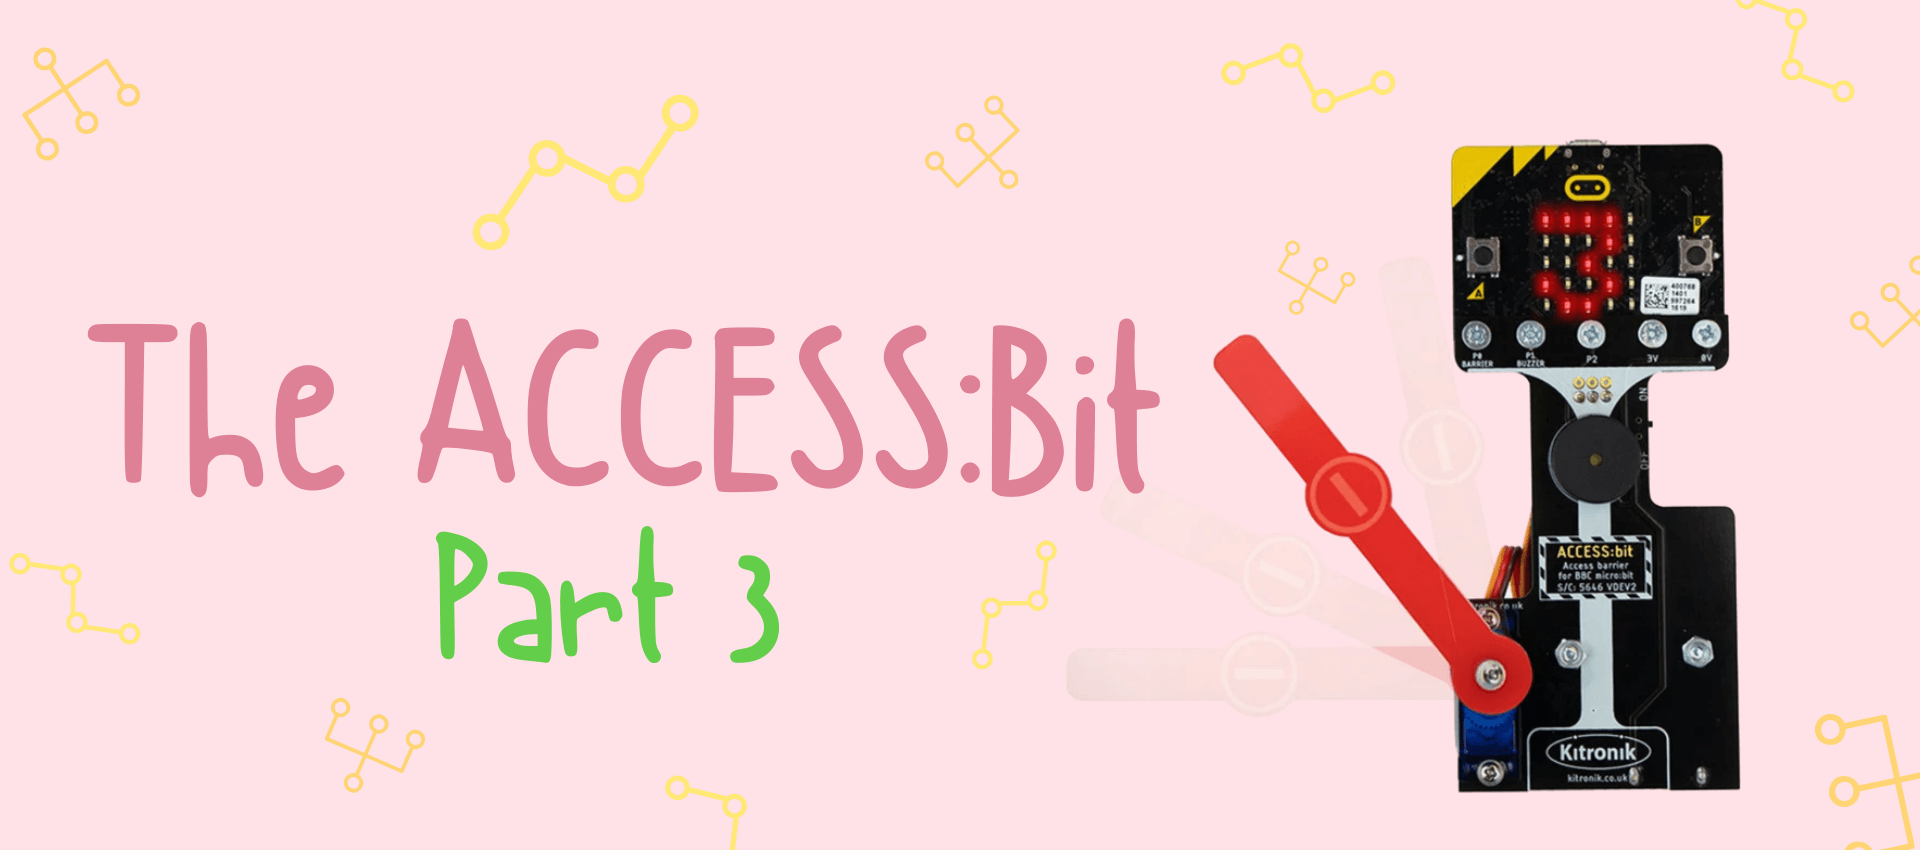
LEARN HOW TO SIMULATE A REAL LIFE ACTIVITY WITH THE ACCESS:BIT
The ACCESS:bit reminded me a lot of when you go into a car park that you need a ticket for and the barrier arm has to move up and down between each car. For this blog, I'm going to show you how to code your micro:bit so that your ACCESS:bit acts like a car park barrier.
For this, you’ll need the following:
- BBC micro:bit
- ACCESS:bit
- Micro USB cable
- Computer/laptop with a USB port and internet access
- Screwdriver
- Pen and paper to plan your code
If you read my last two blogs on the ACCESS:bit, you would have added the ACCESS:bit extension on MakeCode so you get the set of code blocks you'll need for this blog.
STEP 1:
To start with, I wanted to make it so that pressing button A was like when you put the ticket into the machine at the car park.
The machine would beep and the barrier opens. First, add a button input and add these ACCESS:bit code blocks. If you turn the sound up on your device, you should be able to test this on the simulator micro:bit on the left.
STEP 2:
When you go through the barrier in real life, the barrier waits a bit so the car can go through the barrier without it closing down on the car. To make the barrier wait, add a pause code block from the basics and set it to wait 1 second (1000 ms).
STEP 3:
The barriers in car parks know that they can close the barrier once the car has gone through because there are sensors built in to the machines. The easiest way of simulating this is to press the B button and act like that's the sensor knowing the car has gone past.
Do the same steps as before with the A button, and change all the options to the ones I've circled in the photo. Now when you press B, the barrier will shut again.
My top tips for this activity:
There were a couple times when I was doing this code where it got a bit tricky. If something isn't working or doesn't seem right, I always go back to the start and check all my steps.
For the ACCESS:bit, you need to make sure you attach the barrier arm in the right spot, otherwise it wont open and close on the right side. Ask for help if you can't quite work it out!
I also had to double check to make sure my micro:bit was attached to the ACCESS:bit the right way. I put a photo on my Part 1 blog showing what it should look like.
The beeper wouldn't stop going at one point, so I just deleted my code and started again from the beginning. Sometimes it's easier than trying to go through and find one thing that's wrong with it.
Don't forget to leave a comment below so you can tell me how you went trying out this activity, and what blogs you want me to do next!
READ NEXT:


Leave a comment (all fields required)