


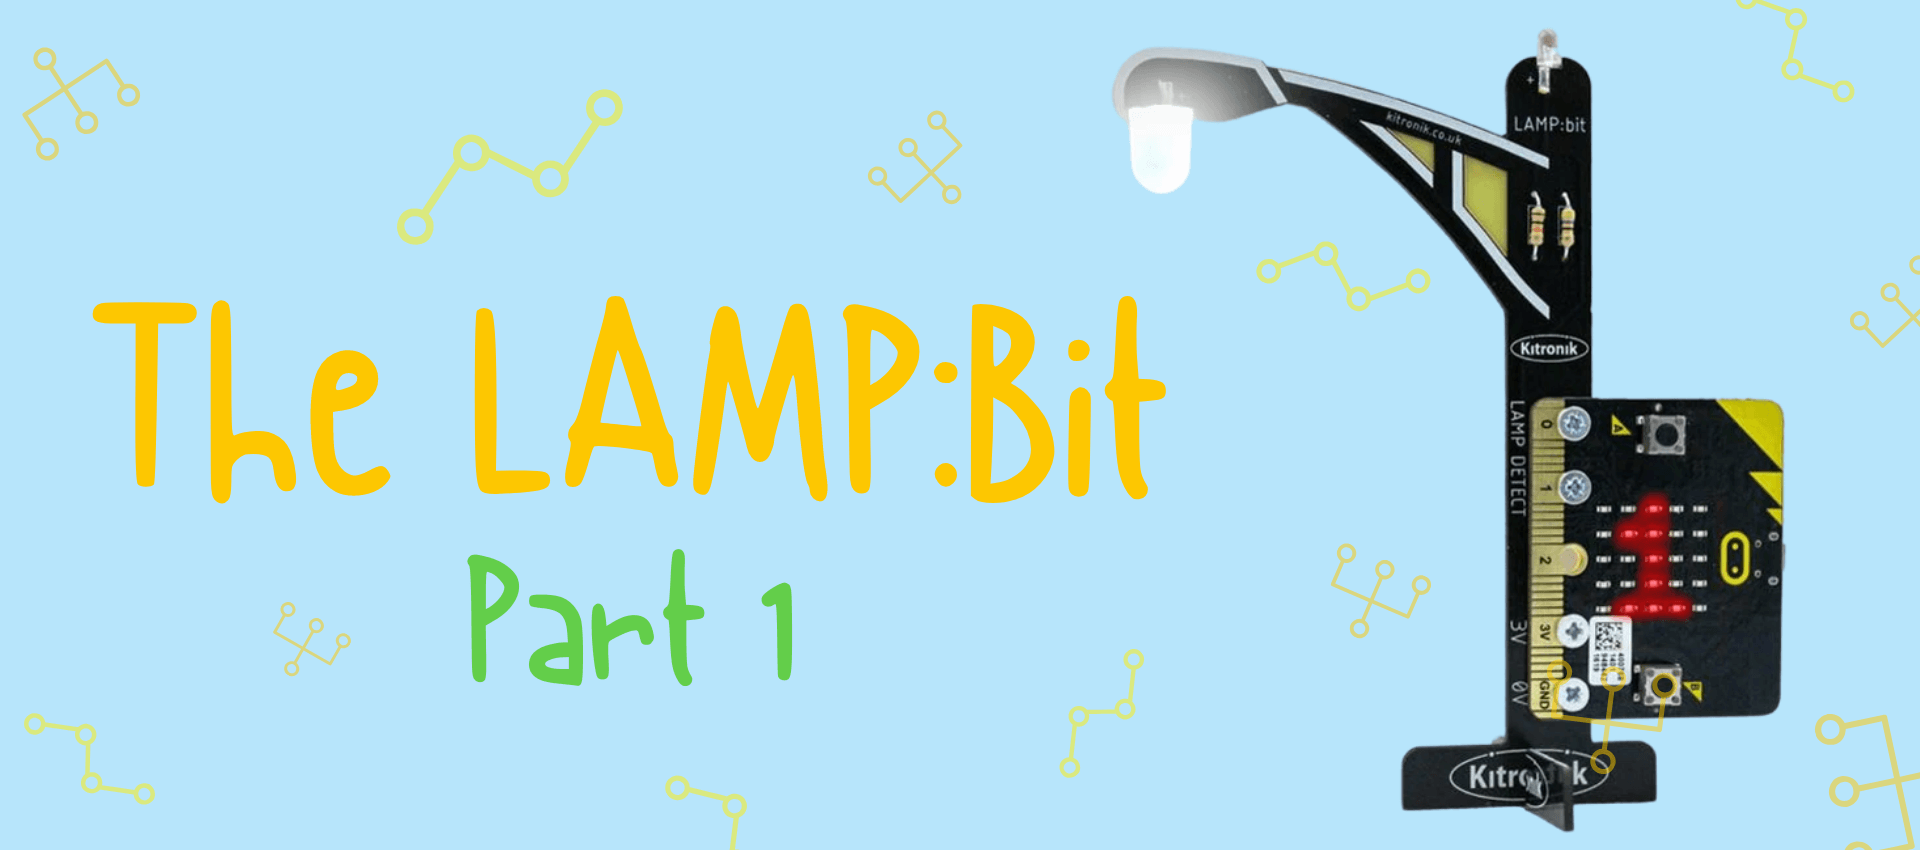
LEARN THE FIRST STEPS TO USING THE LAMP:BIT EXTENSION WITH YOUR MICRO:BIT!
How do I code my micro:bit to control the lamp?
The LAMP:bit is a really cool, interactive attachment for the micro:bit. I’ll be showing you how to code the LAMP:bit so you can control the lights either with a button, or without even touching it!
For this, you’ll need the following:
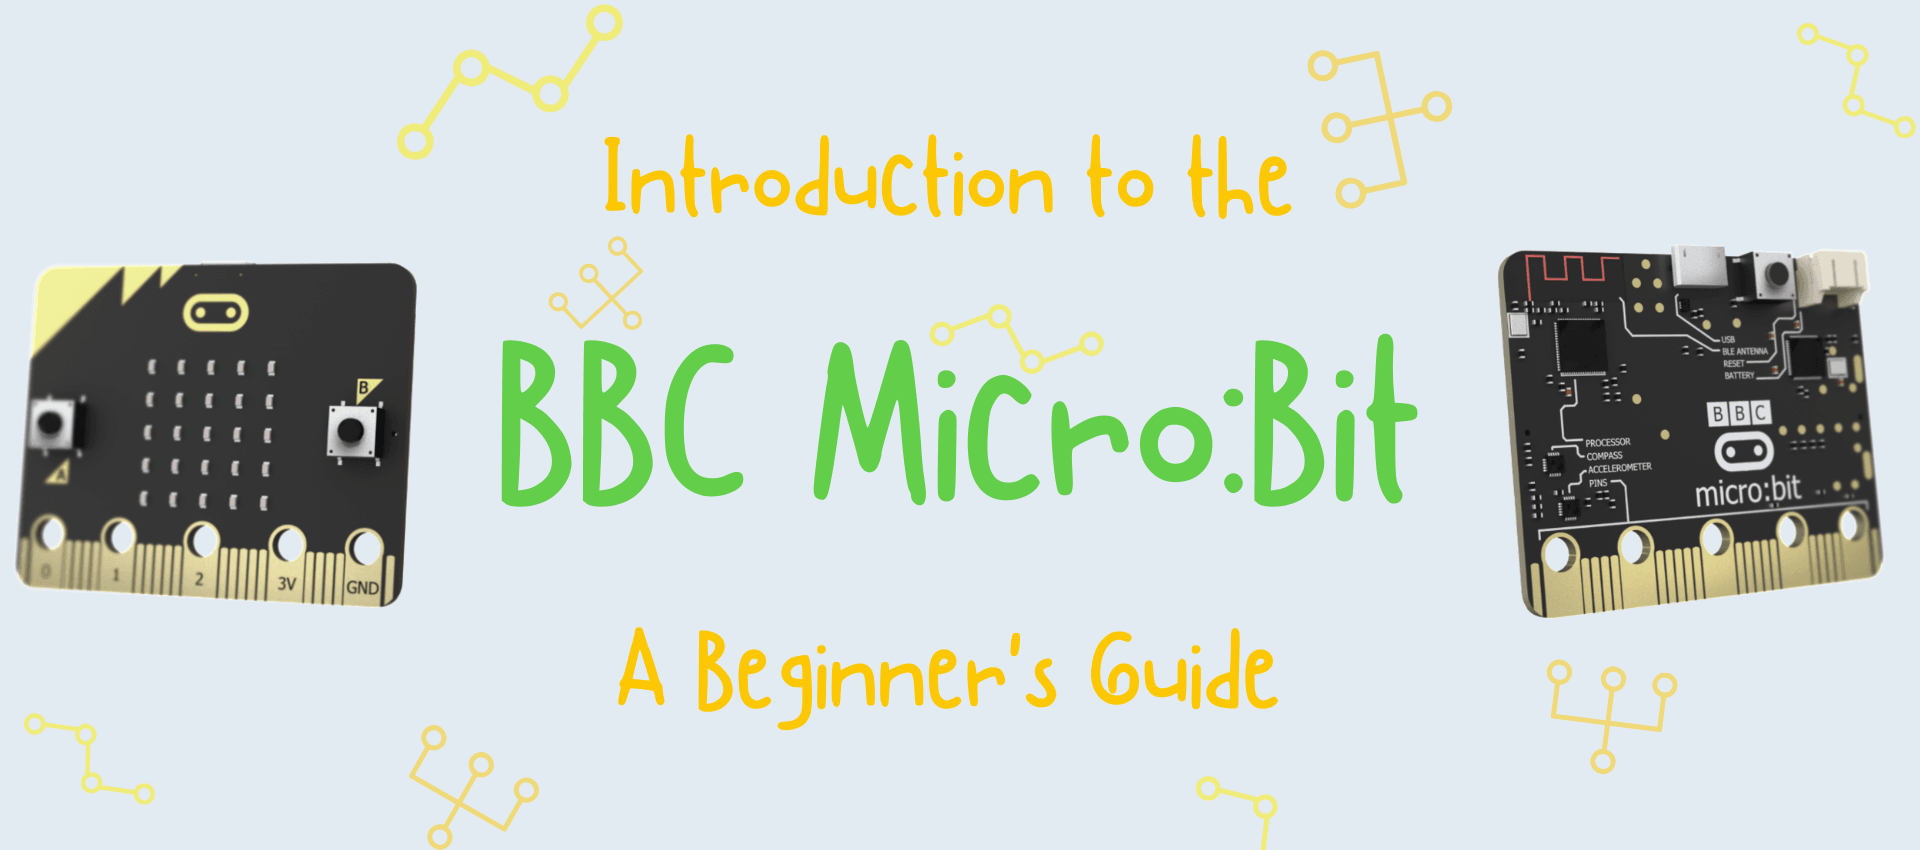
- BBC micro:bit
- LAMP:bit
- Micro USB cable
- Computer/laptop with a USB port and internet access
- Screwdriver
- Pen and paper to plan your code
STEP 1:
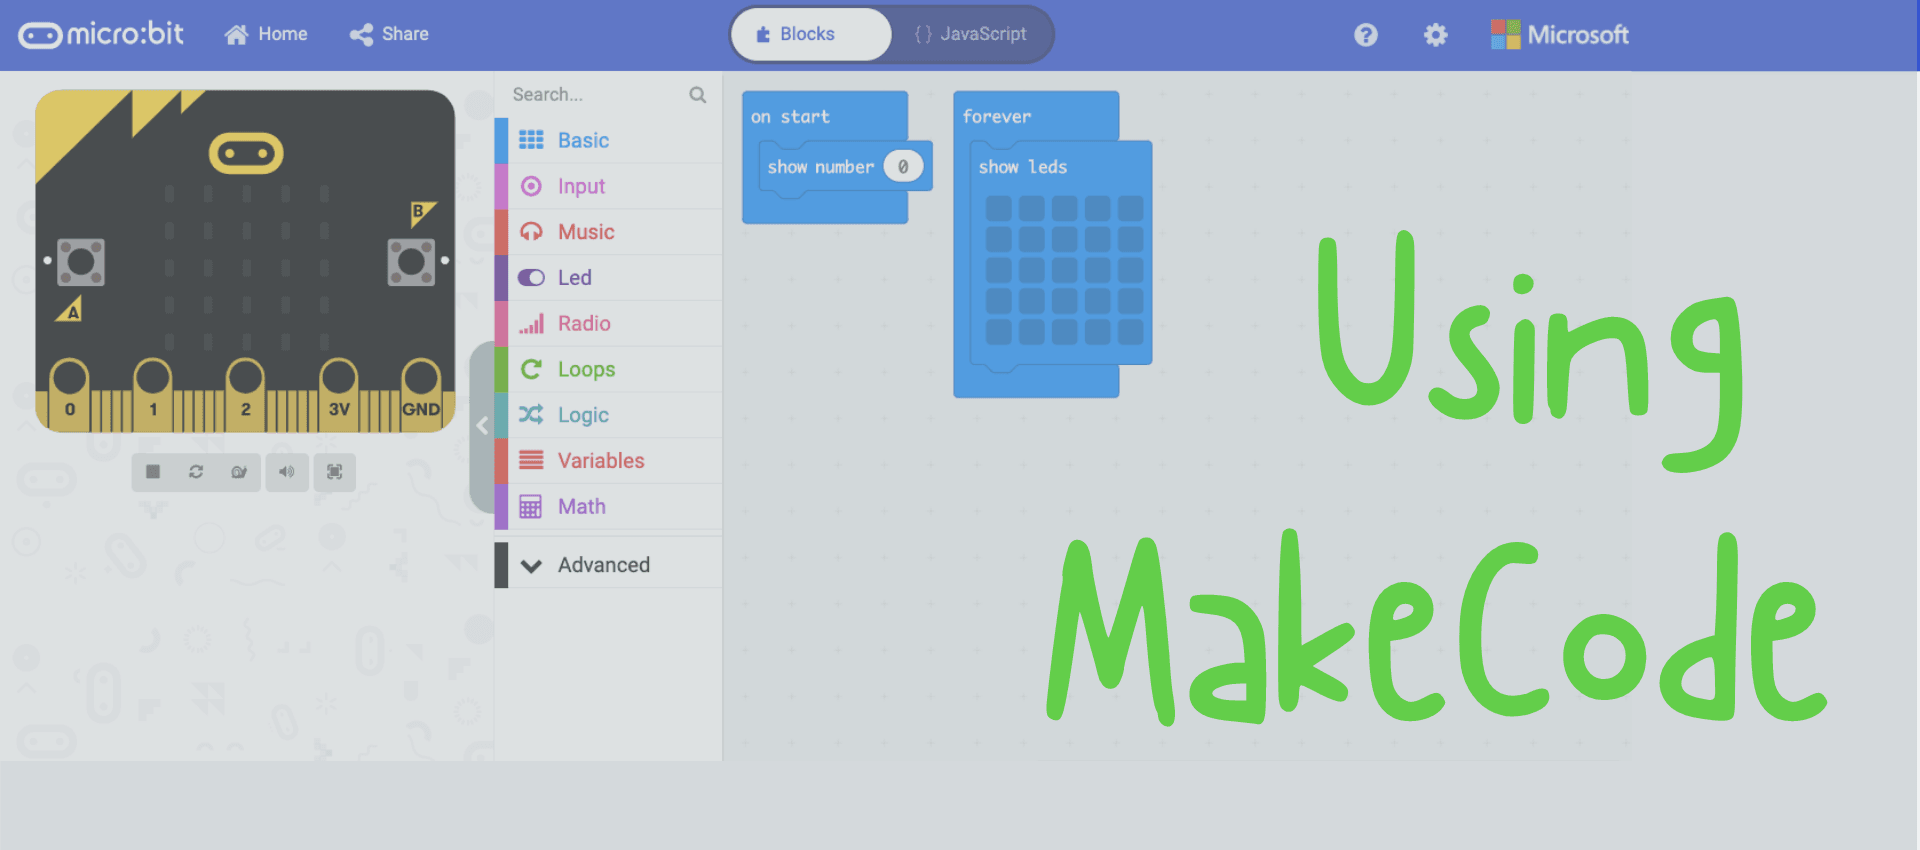
First, you need open MakeCode on your device and download theLAMP:bit extension for the micro:bit. To find the extension, go to the settings, click extensions, and search for “lampbit”. The extension is called 'kitronik-lampbit' and after you download it, it should appear in the code blocks.
STEP 2:
Next, you need to drag a pink input block into the program space and choose which button will control it. To add a code block, you click on the one you want and then drag one of them onto the program space.You can add a new input block for each button. For more about input's, you can read MakeCode's handy help guide!
STEP 3:
Then, drag the ‘turn lamp light on/off’ code block into the input area and choose what the button will make the light do. You can add more input code blocks, so button A turns the lamp on, and button B turns it off. Now your program space should look a bit like this!
STEP 4:
Now you're ready to download your code, and upload it to your micro:bit! I showed you how to do this in my last blog, "How to use MakeCode". You can also learn how to do it with MakeCode's help guide. Don't forget to leave a comment below to let me know if this helped you, and what cool things you did with your LAMP:bit!


Leave a comment (all fields required)