


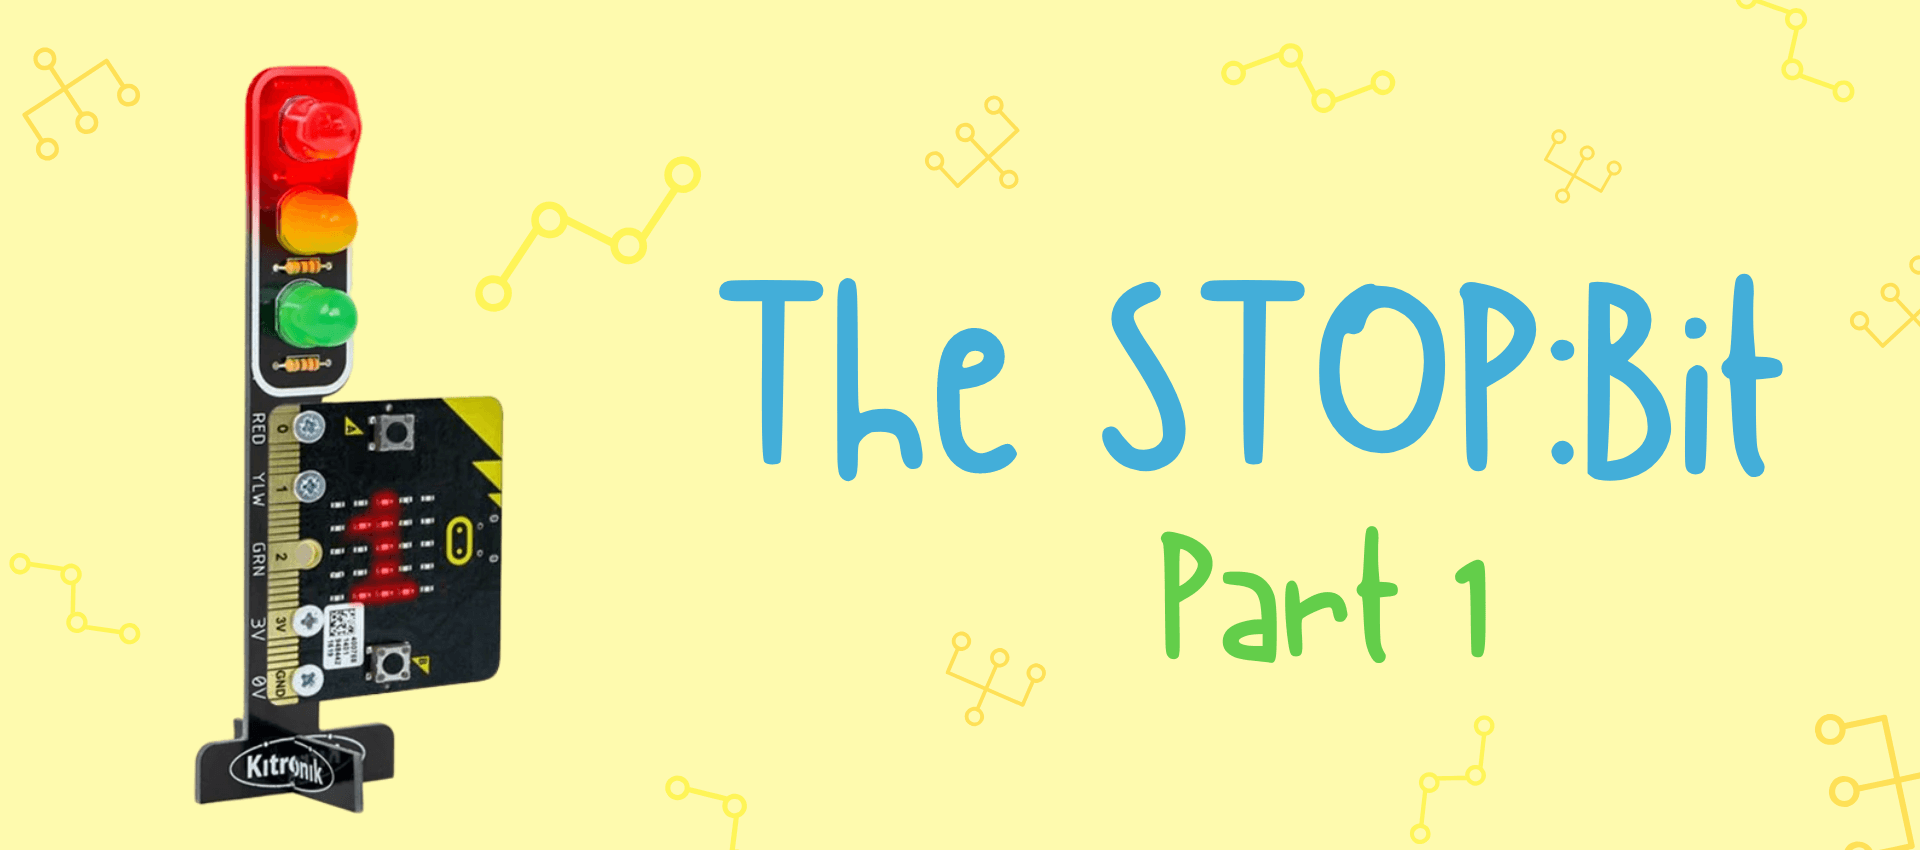
Learn the first steps to using the STOP:bit extension with your micro:bit!
How do I code my micro:bit to control the lights?
The STOP:bit is a really cool, interactive attachment for the micro:bit. I’ll be showing you how to code the STOP:bit so you can control the lights either with a button, or without even touching it!
For this, you’ll need the following:
- BBC micro:bit
- STOP:bit
- Micro USB cable
- Computer/laptop with a USB port and internet access
- Screwdriver
- Pen and paper to plan your code
STEP 1:
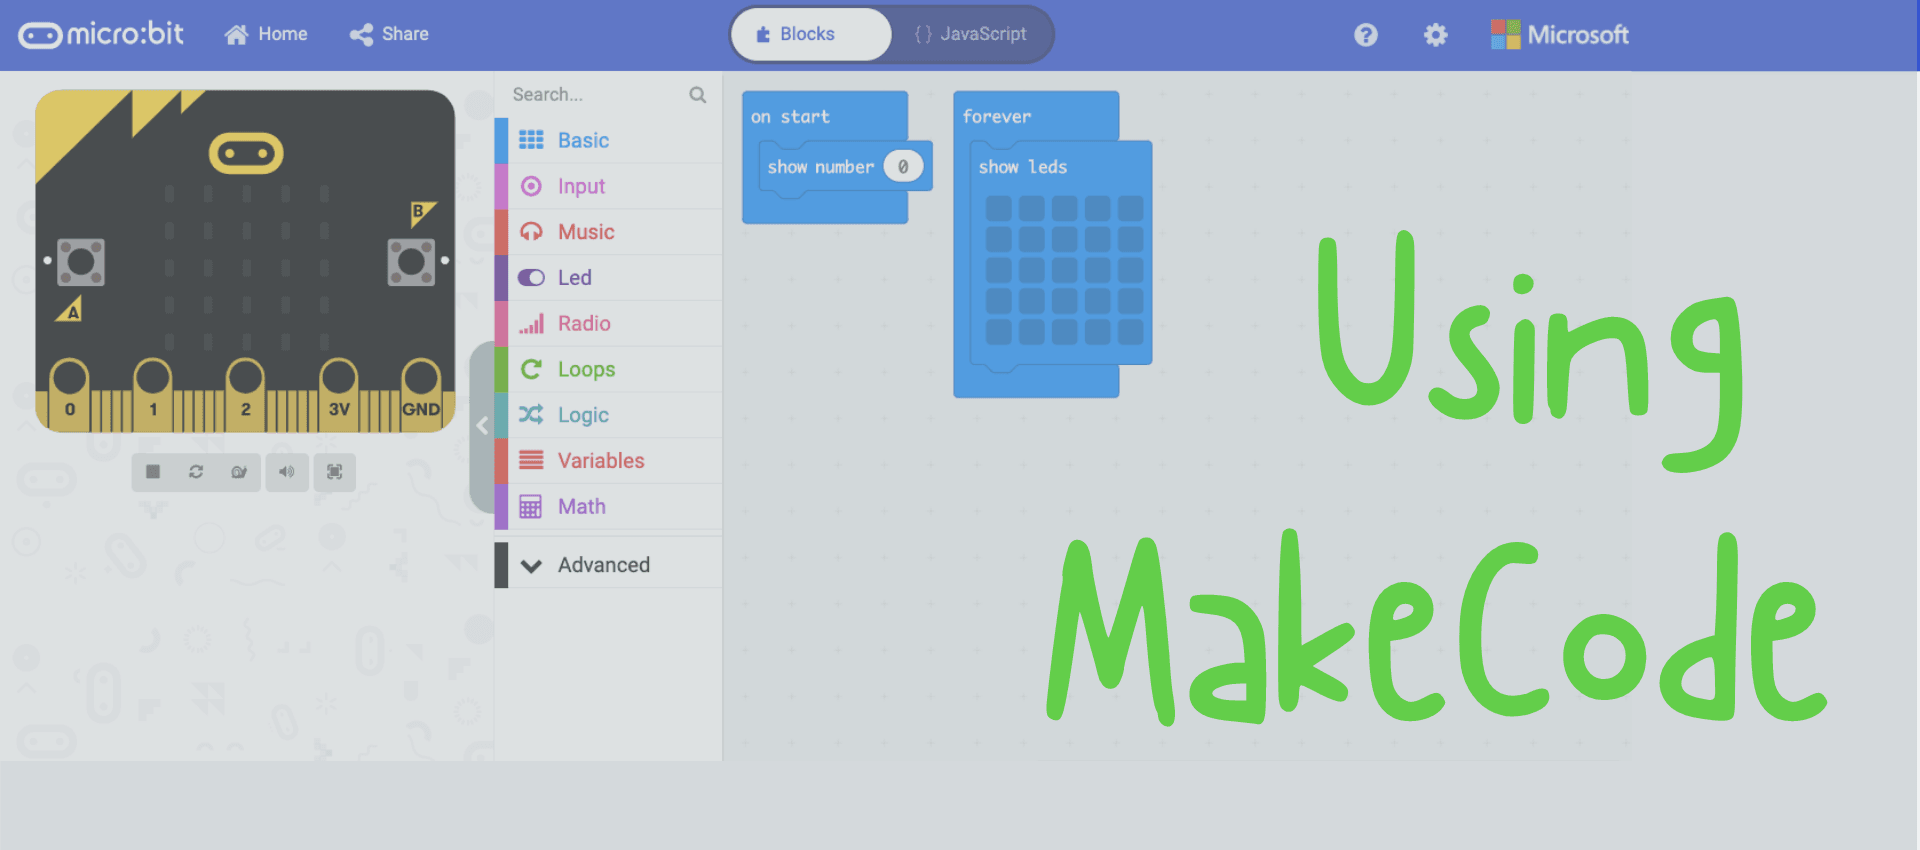
First, you need to open MakeCode on your device and download the STOP:bit extension for the micro:bit. To find the extension, go to settings, click extensions, and search for "stop bit". The extension is called 'kitronik-stopbit' and after you download it, it should appear in the code blocks. Drag an input onto the programming space that's controlled by pressing button A, like this:
STEP 2:
Now you can add some STOP:bit code blocks into the input area. There are 3 lights on the STOP:bit, so you'll need to add a code block for each one. Then you can choose whether a particular colour will be on or off when you press the A button, so now your code might look like this:
STEP 3:
I want each of the buttons to make a different light turn on, which you can do by adding an input code block for each button - look at the third one, where pressing buttons A and B together can work as it's own instruction! You can have as many lights on at a time as you want, so play around and see what you can do!
STEP 4:
And now you're ready to code! Click on a code block to drag and drop an instruction into the program space - check out MakeCode's help guide to using blocks to learn what each of the blocks do, and what ones go together!My next blogs will show you how to use MakeCode to do some more advanced instructions with the STOP:bit.


Leave a comment (all fields required)