


What is a Servo Motor?
Servo motors are just like normal DC motors except they don't rotate continuously. Servo motors just move to a particular angle and hold there. To do this they have an additional 'control' pin that sets the target angle.
You have probably seen one in a radio controlled cars for controlling the steering, but they have many industrial uses as well. To fully understand how a servomotor works you need to understand the concept of feedback control, however, that is beyond the scope of this tutorial. You probably just want to know...
How to Wire your Servo motor...
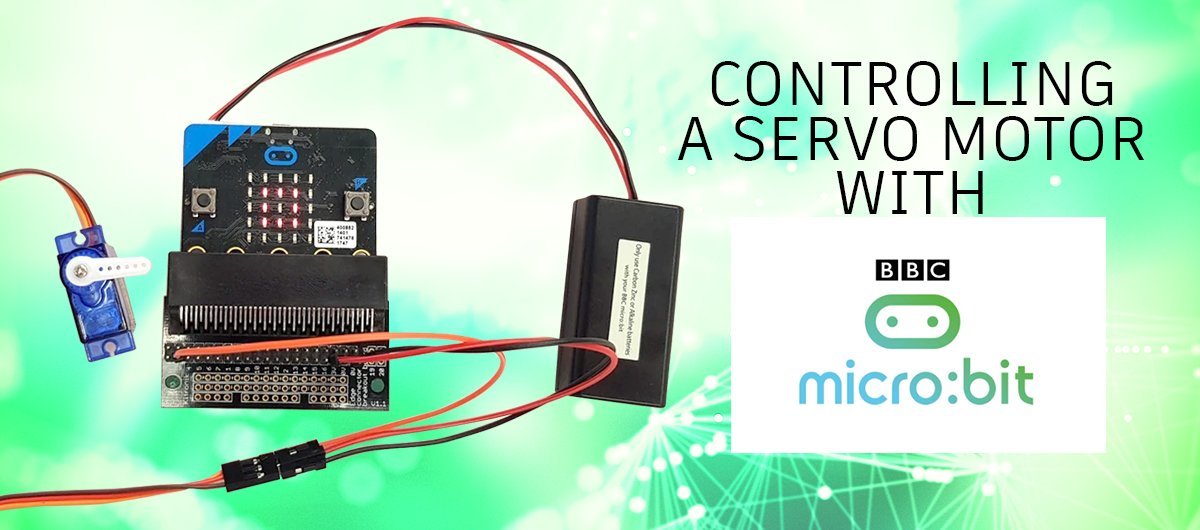
The most simple approach is to wire it like in the makecode tutorial.

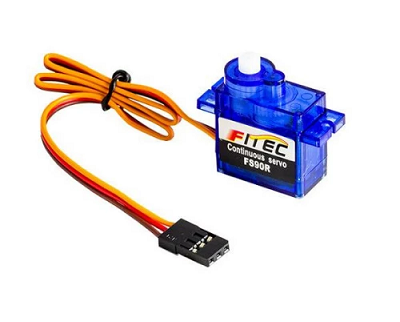
There are only three wires to connect up...
Red - Power (Connect to 3.3V pin)
Black - Ground (Connect to 0V pin)
Orange - Control (Connect to any I/O pin, in this case, pin 0)
To program this the makecode development environment has a library for using servo motors. This means a lot of the complicated control is taken care of for you. You can just set the angle of the motor. In this example when you press button A the motor turns to 0 degrees or left and if you press button B then the motor turns to 180 degrees or right.

The servomotor used in this demonstration is being powered off the power supply for the micro:bit at 3volts. This can causes issues with the microbit if the servo motor draws too much current when a load is placed on it. So if you are using this in a real application then you should use a separate supply for the servo motor. Towerpro recommends 4.8volts supply for this servomotor.
In the example below, we are using the Kitronik breakout board. You can use any breakout board you have, or even just connect it up directly with some crocodile test leads. Here we are using the Towerpro SG90 Digital Servomotor, a very popular servo motor for beginning makers and in education. That is because of its usefulness and affordability. Another great advantage is that you can power the servo motor with 4.5 volts from three AA batteries and the 3.3 volt control signal is still enough to control the servo. In other cases, you may need a level shifter for the control signal as well. Just remember to join the grounds from the two power supplies together.
Project ideas
- Steering control on a radio control car.
- Aileron control on a fixed-wing plane
- Pitch control on helicopter rotor
- Lift a Pen up and down on a line drawing robot
- An analogue gauge like a speedometer or tachometer


roberto
January 14, 2022
The project works fine.The only aspect is that, once connected the servo I had to double push the buttons A or B for the servo to move to the final position-
Thanks for your help and support.
Best regards from Montevideo-Uruguay