


A stepper motor is quite simply a motor that moves in steps. Unlike a normal DC motor that just goes around and around forever. Stepper motors are commonly found in printers and CNC machines as they can be very precisely positioned.

Animation for Wikimedia Commons
In the image above we see a 4 phase unipolar stepper motor. This is very similar to the one we will be using in this lesson. Let's consider what is happening by looking at a control table.

In this table we can see that to advance the rotor of the motor by a step, you just turn the next phase of the stator on. To go backwards you step in the opposite direction.
The stepper motor that we are using is a very cheap and common unit that you can source from many suppliers. In our case, we have used one supplied by Elecfreaks.

It is important to understand that although they have the same part number 28BYJ48 and may look the same as other manufacturers, the internals may be different. In particular the gearing ratio on the reduction gearbox. It is stated to be 1:64 but it could be some other fraction, like 1:63.7, and the only way to know for certain is to remove the gears and calculate the ratio. More on that another day.
What we want to know is how many steps per revolution there are and how to control it. If we look at the datasheet we can see that it is a 4 phase unipolar motor with 32 steps per revolution. It then has a 1:64 reduction gearbox. So there are 32 x 64 = 2,048 steps per revolution, or thereabouts. You may need further testing to ensure it is exactly that ratio.
In the table that you first saw, only one winding was on at a time. This will work, however, there is a better way. If you have two windings on at a time then the motor would have twice the torque. This is a great thing and luckily very easy to do. Consider this drawing below.

In this image, there are four red dots. That is where the rotor will actually be held. In between the two phase windings. This way two phases can be on at a time and you will have twice the torque. To get the rotor into position one, windings A and D will be one, to move to position two, windings D and C will be on. Let's now look at the table below.

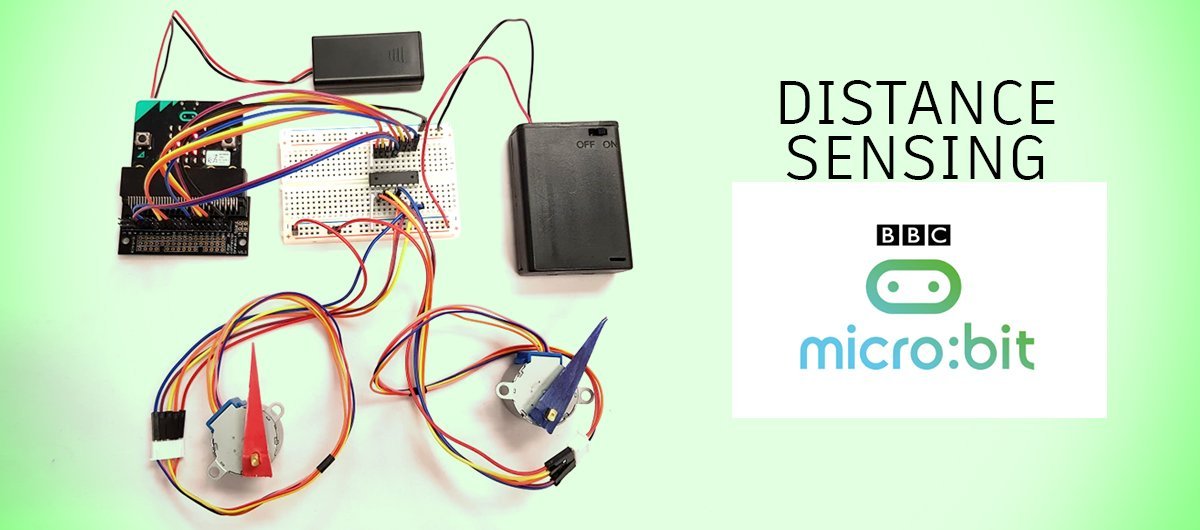
Now we know how to control the stepper motor, we just need to know how to wire it up and program it.
The microbit can not drive a stepper motor directly. It needs a current amplifier or transistor on each output pin. When controlling stepper motors it is common to use an array of these transistors like the ULN2803A Darlington array. It has eight sets of Darlington transistors in one convenient package.

These Integrated Circuits are also designed to be really easy to wire up. The inputs are on the left and the corresponding output is on the right. So it is like you are just putting it in series between the micro:bit and the stepper motor. It also has eight Darlington arrays so you can drive two stepper motors with it. Now let's look at a wiring diagram.
Let's look at the wiring of the 28BYJ48. Below you can see that each phase comes out to a different colour wire and the common wire is red. This common wire is connected to your 5Volt supply. Make sure you do not use the power supply form the micro:bit as it is not powerful enough to drive the stepper motors and may reset the device.

From here we can consider how to connect the motors up to our Darlington array. In this diagram below we are using two stepper motors and making use of the eight outputs from the IC.

In the above diagram, you can see that the signals from the micro:bit come into the inputs of the Darlington arrays. It is not important which pins you use as your outputs on the micro:bit, just remember which ones you do use so that you address them correctly in your code. Then you will run the wires out from the Darlington to your stepper motors. Remember to connect up the ground for the IC and the power for the motors.

and a close up of the breadboard...

Now to the code. In effect, you are just coding the control table we saw earlier. This will make your stepper motors turn. If you are using your stepper motors to control things then you will want to keep track of what step number you are one. In this code example, we always move four steps at a time, which considering the number of steps at 2,048, means we still have a lot of control. In example one of the code below, each time you press button A, Motor One does a complete revolution. While Button B is pressed, Motor Two moves.


Horst Gronwald
August 30, 2019
Nice programsolution for steppers. Nice homepage